
In preparation for THRO 2015, Centaur and I decided to have another test-round of the Hold Ground (castle siege!) scenario. Centaur won the deployment roll and opted to attack, taking his whole force and not reducing my rolls to deploy. I left 120 points at home and took the fort and the Rocks upgrade. Here are the forces:
The Might of Khazad-Dum: 602 points
Durin I - 160 points
8 Dwarf Warriors with shields - 72 points
10 Dwarf Warriors with Dwarf bows - 90 points
6 Khazad Guards (Bodyguard: Durin) - 66 points
10 Dwarf Warriors with Dwarf bows - 90 points
6 Khazad Guards (Bodyguard: Durin) - 66 points
2 Dwarf Rangers with bows - 20 points
2 Dwarf Rangers - 14 points
2 Dwarf Rangers - 14 points
35 units, 10 Dwarf bows + 2 bows + 6 thrown weapons, 1 hero
Centaur's Crazies: 601 points
Warband 1
Ugluk (Army Leader) - 60 points
10 Feral Uruk-Hai - 120 points
1 Uruk Scout with banner - 33 pts
Warband 2
1 Uruk Scout with banner - 33 pts
Warband 2
3 Feral Uruk-Hai - 36 points
3 Uruk Scouts with shields - 27 pts
Warband 3
Uruk Shaman with armor - 55 pts
3 Uruk Scouts with shields - 27 pts
Warband 3
Uruk Shaman with armor - 55 pts
10 Feral Uruk-Hai - 120 points
33 units, 6 Might, 1 BALLISTA!!!
 |
| The game board was set up as you see with the initial forces deployed as shown. The ballista's warband rolled a 1 and paid a Might point (1/2M) to have me pick with side of the map to put it on. In retrospect, I probably should have chosen the North wall (guarantee use of the keep/towers), but whatever. One of my warbands also rolled a 1 for deployment and without a hero in that warband, they deployed outside, just beyond 12" of one of the Uruk warbands. Given that the Uruks weren't deployed anywhere near the towers, I don't think I'll be getting much use out of the Rocks upgrade, but whatever... |
Centaur's Pre-Game Thoughts: Assaulting a fort is hard with a ballista (because there are many ways to hide from a ballista shot, and even more ways to get an in the way), but it sure beats defending with one, :) Pretty simple plan: bull rush the two sides, send a small hit squad toward the breach to keep his men spread out, and then push as hard as we can for the center. Durin is going to hurt a lot (basically untouchable by my force and he'll have lots of attacks wounding my entire army on 4+), but we can hold him down with expendable infantry. Should be an interesting fight.
Turn 1: (Priority - Uruks)
 |
| The armies race ahead, but I made a tactical error of moving one of my Dwarf companies on from a side of the board with a huge rock in the way...boo. As everyone presses forward, we'll have a few shooting attacks, but pretty much getting ready for next turn's melees. |
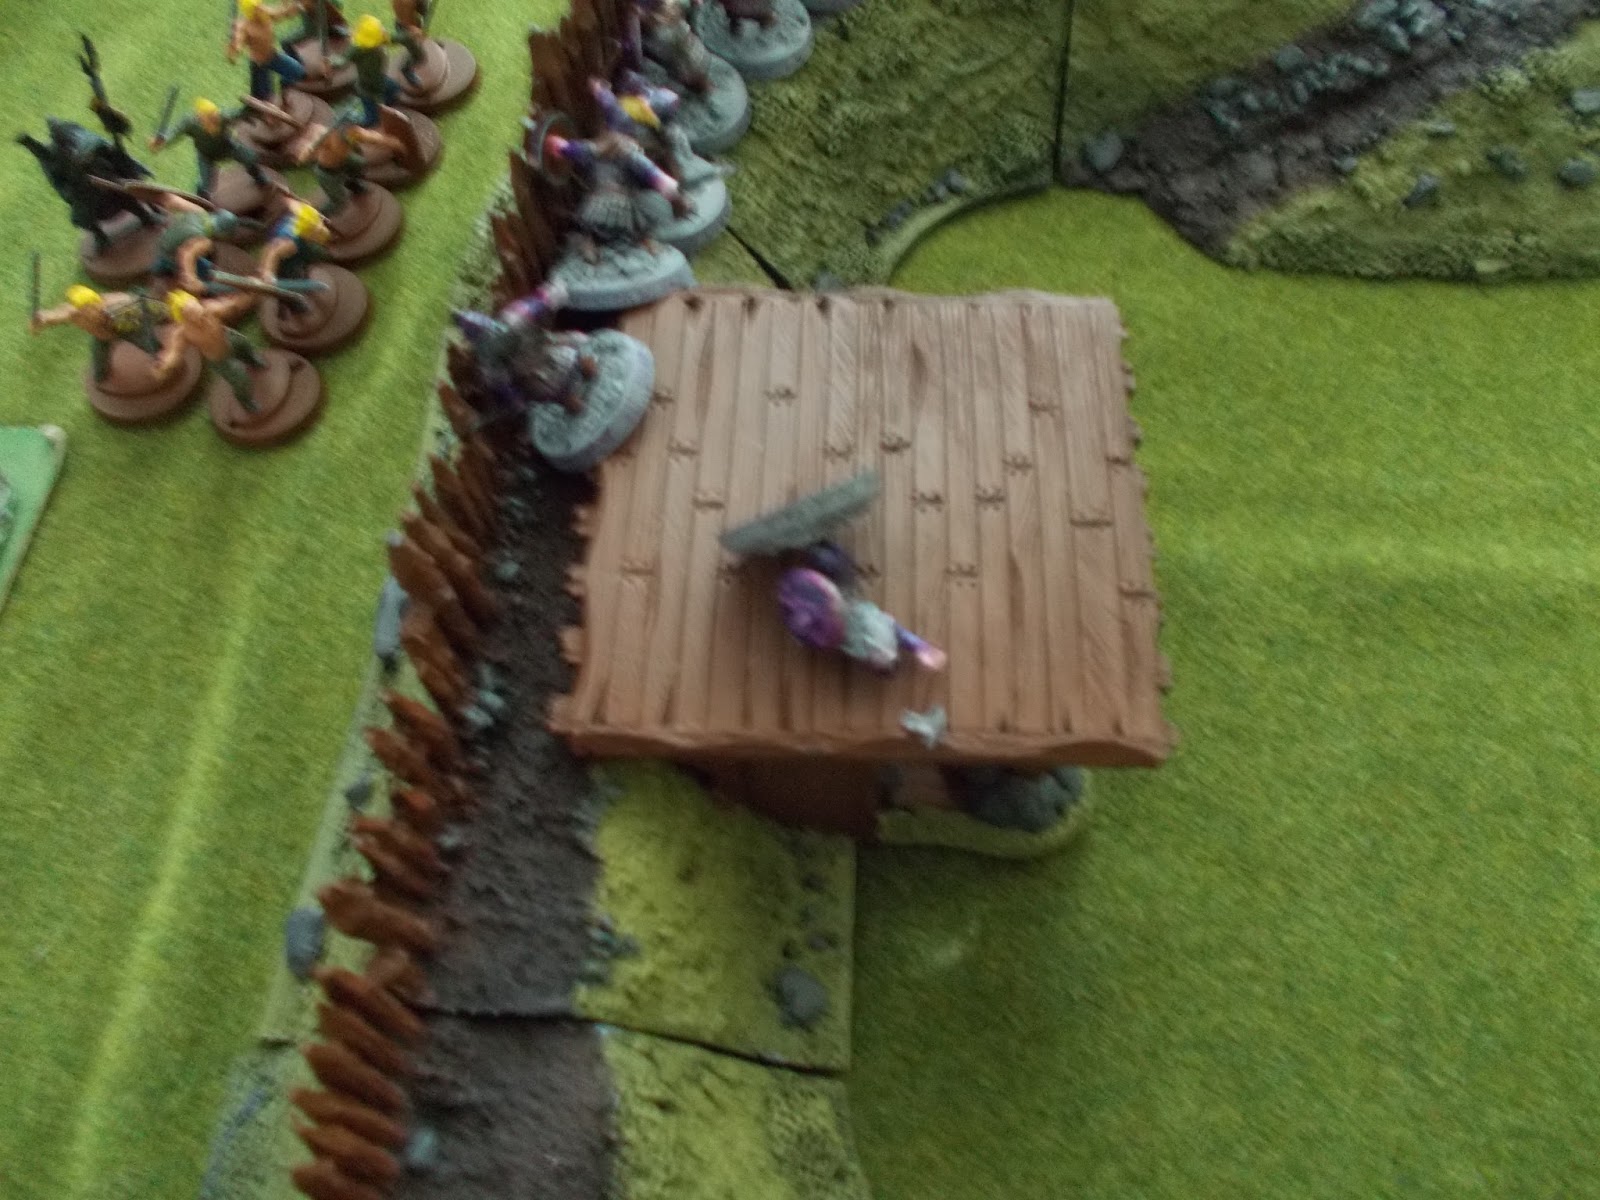 |
| During the Shoot phase, the ballista nails a Dwarf Warrior with shield (firing through the breach provides line of sight if you are at the right angle - love that). The Dwarf archery was...remarkably less damaging (oh, archers...). |
 |
| This is just a zoom-in shot of the models: you can see here Centaur's Celtic warriors who he's using as Ferals - really great models! |
 |
| On the other side of the field, Ugluk and his band race towards Durin (oh yeah, this is going to go well). |
Turn 2: (P - Uruks)
 |
| Forgot to take pictures of the Move/Shoot phases, but in the Shoot phase, the Uruk shaman took a wound (no fate expended, 1/2H). Here in the Fight phase, Durin called a Heroic Combat (1/3M) and slays his man easily. He then assists the ranger next to him and slays another. Ugluk also called a Heroic Combat and understandably killed the ranger he was fighting. Not much else happened - mostly attacks glancing off the palisades. |
 |
| On the other side, the Ferals killed two Dwarf archers and have begun leaping over the side. You can see the shaman here at the bottom of the picture (in a prime position for a pounding of Dwarf archery) (Yeah, can't really fix that...what are Fury saves for, right? :P ). |
Turn 3: (P - Uruks)
 |
| Without priority again, the Uruks swarm, with a few even racing towards the breach. My Dwarf band who started outside of the walls has reached the walls and begun crossing over (hopefully they can reinforce both positions before I'm overrun...). |
 |
| Nothing really going on in the Shoot phase, though I do need to credit the ballista with getting a 6 to hit Durin (trying to knock both him and Ugluk to the ground to keep Durin from killing Ugluk), and then getting a 6 on the scatter (so it's on target!), and then getting a 2 on the in-the-way roll. In the Fight phase, Durin whiffs his roll to wound, landing 2 wounds on Ugluk (3/3M), but one of the wounds is saved by Fate, so Ugluk survives to fight another day. In other news, Dwarves fall left-and-right, with four of them biting the dust and many Ferals racing on to the palisades. My Dwarves, in response kill...nobody. |
 |
| On the other side, blows are traded about evenly, with one Khazad being killed and two Ferals begin killed (both by Dwarf archers, one of which was fighting two Ferals) (archers are swordsmen people, what can I say?). |
Turn 4: (P - Dwarves)
 |
| The Uruks swarm the Dwarves and are basically in command of everything...nothing much to add otherwise. One feral (bottom-right) failed to hop over the wall again (which I found as a great relief)... |
 |
| In the Shoot phase, a Dwarf throwing axeman kills a Feral - finally a throwing weapon kill (Also, he just paid for 4/6 of them - not bad)! |
 |
| Durin is tied down by a Feral, allowing Ugluk to take on a Khazad with some other Ferals supporting and during the Fight phase, they basically clear the wall off. You can see here that many more Dwarves fell. |
 |
| On the other side, still more Dwarves are felled, though we were able to claim an Uruk Scout (with my Dwarf archer again). |
Turn 5-6: (P - Uruks)
SORRY - forgot pics for round 5, but basically Dwarves cut across the lawn and more fighting on the walls. At the start of Turn 6, things are as shown below.
SORRY - forgot pics for round 5, but basically Dwarves cut across the lawn and more fighting on the walls. At the start of Turn 6, things are as shown below.
 |
| The biggest change (and I'm really, REALLY sad we didn't get a pic of this) is seen on the northern wall - WHERE'S UGLUK?!?! Turns out that Dori (one of my throwing axemen) sniped him in the Move phase of Turn 5, finishing the job Durin began (THAT bites, :P ). |
 |
| During the Fight phase, the Uruks killed Dori and a Khazad Guard near the objective marker, while Durin killed a Feral. |
 |
| On the far end, the Dwarves are feeling a lot of pan, losing three archers and killing one Feral. Due to time constraints, this is how the battle ended and the points were tallied. |
Conclusion:
We tallied the points and they came out as follows:
- The Dwarves were broken and the Uruks were not, so the Uruks score 3 points.
- There were 4 Uruk-Hai in range of the objective and 8 Dwarves in range of the objective, scoring, giving the Uruks 4 points and the Dwarves 8 points.
- Ugluk was killed, giving the Dwarves 2 points.
Assessment by Tiberius:
Durin is very, VERY powerful - especially against Uruk lists. Unfortunately, a good portion of my armored troops started outside the fort and my Rangers took the brunt of it (and against Ferals, that's really not good news). I like having Durin in the list, and while fielding Rangers does keep your model count high, it does make resiliency suffer a little. We'll see what I end up doing with this list in the future.
Assessment by Centaur:
Cracking dwarves is hard, but honestly we got a good shake at it: we had a lot of attacks, we were able to start with a ton of the dwarves outside of the walls, and since he took the fort he was down both DSBs, so we can't complain about the loss. Honestly the biggest problem was against those archers: we should have been able to kill more of the guys on the far side (which would have gotten my forces over the top for a steamroll of points to finish the game), but we were held down. Great game against one of my favorite opponents, and really hoping that I get to face the dwarves again.
Stellar unit for the Dwarves: Dwarf Warrior with Dwarf bow
This game was odd in that very few of my kills came from units other than Durin. The kills that did come were mostly from my archers in melee, so today they get the award. I do need to recognize my shield-carrying Warriors, who spent pretty much the entire game shielding away Uruks from the far side, which made a difference but led to not many kills on their part.
Stellar unit for the Uruk-Hai:
My ferals, hands down. While they make up the bulk of the army (all but 10 models in the army), these guys actually made it possible to crack the defenses of the dwarves. With 2A each (3A if the shaman is spear supporting them), these guys can crack defenses quickly, even past walls, and don't require spear support (who can be shot out by archers on the wall). I would have been torn to pieces if I ran my traditional scout army, so I'm pleased with their work. Well done, gents.
My ferals, hands down. While they make up the bulk of the army (all but 10 models in the army), these guys actually made it possible to crack the defenses of the dwarves. With 2A each (3A if the shaman is spear supporting them), these guys can crack defenses quickly, even past walls, and don't require spear support (who can be shot out by archers on the wall). I would have been torn to pieces if I ran my traditional scout army, so I'm pleased with their work. Well done, gents.
No comments:
Post a Comment