

So the Wood Elves are by far my favorite army that I own. They require a lot of skill to use and always require a lot of terrain to stay alive (particularly woods). The hope that I have for this post is to open the floodgates of opportunity for the Wood Elves. We'll begin with the basic advantages of the Wood Elves and a brief overview of their disadvantages. After that, we'll look at the different formations and tactics that I find work rather well. Here's the army we'll be talking about:
Galadriel, Lady of Lothlorien - 130 points (Army List: Lothlorien)
8 Wood Elf Warriors with Elven blades and thrown daggers - 80 points
12 Wood Elf Warriors with Wood Elf spears - 96 points
4 Wood Elf Warriors with Elven bows and Elven blades - 40 points
6 Galadhrim Warriors with Elven bows - 60 points
Ally: Legolas, Prince of Mirkwood with armor - 95 points (Army List: The Fellowship)
501 points, 32 units, 11 bows + 8 thrown weapons, 2 heroes
Potential allies: The Fellowship, Khazad Dum, Eregion, Fangorn, The Grey Company, Rivendell, the Grey Havens, Thranduil's Halls, The Host of the Hammerhand, Theoden's Host, Minas Tirith, The Army of the High King, Durin's Folk, The Wanderers in the Wild, The Wizards, the Eagles
The Strengths of the Lorien Elves
PROFILE
 |
| The Wood Elves of this army are, like all Elves, gifted with several critical advantages. The first of which is they have a Fight Value of 5 and a Courage Value of 5. As a result, they will win ties in close combat against all basic troops and will tie/beat most heroes who are not champion brawlers by trade (Aragorn, Gimli, etc.). They will beat such heroes as Durburz (the Goblin King of Moria), Captains from any force (except Elves and Dwarves), and the Golden King of Abrakhan. For roughly 20% or less of the cost of any of these heroes, that's well worth the investment. They will tie down heroes like Ringwraiths, Dain, Eomer, and any named Uruk-Hai captain, which means that such heroes will need to win a roll-off, which they cannot alter with their Might points. Again, that's also not a bad investment. Their high Courage value means that they don't need to benefit from a hero's Stand Fast! most of the time (though I'd still advise it) and they can charge terrifying units more consistently than other basic troops. In cases that rarely apply, this Courage value is even better than some units (the Army of the Undead wounds Elves on 5s instead of the usual 4s and Spectres will rarely be able to use "A Fell Light Is In Them" against your units). |
 |
| The Wood Elves also benefit from having a high Shoot Value (3+). The high Shoot value is made even stronger when you have a Wood Elf units, as they are the only Elves that can purchase throwing weapons for their non-archer infantry. With a 33% bow limit instituted on all armies, this allows all Wood Elf units (for 9-10 points each) to utilize their Shoot value of 3+. It is also useful that they can have thrown weapons in that these weapons can be used as you charge an enemy in the Move phase, allowing you to kill units in all 3 phases of the game where units are doing something (Priority and End phases excluded here). In this army, throwing daggers have not been given to the spearmen to save money (since it would cost 24 points to give all of my spearmen throwing daggers - forcing me to use Haldir without Elf bow instead of Legolas with armor). |
 |
| But the high Shoot value is made even more effective because the Wood Elves have the Woodland Creature ability. This allows Elven units to move through difficult wooded terrain without penalty. Since all infantry and monsters without this ability cut their movement in half (and all cavalry cut their movement to 1/4), the enemy can't travel more than 2.5"-3" through woods. Since your Elves can move half their movement and still fire their weapons, the Elven archers can move back 3" through the woods and maintain the same distance against their foes and still fire their bows. Enemy archers will need to travel 1.25"-1.5" if they want to shoot, which means you can really put a distance between them and you with a good-sized wood. Whenever I play as a Wood Elf, I make sure at least 2 patches of trees are used - I'll be able to place one and my opponent will probably choose to place the other. This will ensure that I've always got good woodlands to help my army when I need it. A "wood" in the Lord of the Rings game is about 6"x6", while a "forest" is about 12"x12", which means you'll have some room to maneuver if you can get some of those on your board. |
WEAPONRY
 |
| We've talked some about the Elves basic profile, but let me touch now on their weaponry. The Elves benefit from Strength 3 ranged weapons, which is great for taking on moderately-armored targets (Defense 4-5). A Defense 5 unit would be wounded by a Strength 2 bow (and most bows are Strength 2) on the roll of a 6, but a Strength 3 bow increases that roll to a 5, which means you are twice as likely to wound your target as you would be with a weaker weapon. Elven bows also shoot at the same range as normal bows (24"), so for the extra point you pay for your unit, you are making it easier to hit the enemy shield-and-armor units, which is great. Thrown daggers are also Strength 3 with a 6" range, which means they're perfect for softening up an enemy during a Shoot phase before a charge. It will, of course, be better if you are able to charge the following round, since you'll be able to use your thrown weapons to cause devastating damage in the Move phase as well. |
 |
| Elven blades and Wood Elf spears are also great weapons for 1 point each. An Elven blade gives an Elf warrior the ability to choose from round to round whether or not he will use his blade as a hand weapon or as a two-handed weapon. This gives him the flexibility to win a fight more easily or to wound their opponent more easily. Whenever possible, gang up multiple Elves in close combat against an enemy so that your Elven blades can be used as two-handed weapons, as the ability to wound Defense 5 units on a 4+ or Defense 6 units on a 5+ can cause some real fear in your enemy. Elf archers may also take these weapons and may choose to use them as two-handed weapons if they wish (otherwise restricted in other armies), but this army avoids that cost. Wood Elf spears not only get the normal rules for spears, but also allow Wood Elves to gain the "shielding" rule. Though you don't get the defense increase that a shield would give you, your troops will have the ability to ward off large amounts of enemies (who they will likely beat if they roll a 6) or keep a critical junction held for a while. |
The Weaknesses of the Wood Elves
The Wood Elves have many great advantages, as have already been addressed, but with these advantages comes a few critical weaknesses - ones you will need to take into account when you fight your battles. Each, of course, can be countered, which we'll delve into a little here but will spend most of our time talking about in the "Formations and Tactics" discussions.
 |
| The Wood Elves have no armor (Defense 3). Most bows will wound your units on a 5+, which means that you are vulnerable - very vulnerable - to missile fire. In close combat (and against Strength 3 or 4 bows), you'll be wounded on a 4+, which means that should a close-combat fight go ill, chances are your soldiers are going to die. Should you face a foe with 5+ Strength (Uruk Captains, Trolls, etc.), you'll be wounded on a 3+, which is really, really bad for your troops. All this to say, try to keep your men in fights that they can win and shielded from sight/protected by scenery while you are at a distance from your foes. Your Galadhrim Elves with Defense 4 will do well against units with Strength 3 attacks, but not much better, so don't count on them slugging it out in a tough fight - focus on battles you can win. |
 |
| NOTE: sometimes not having armor is a good thing - like if you're trying to swim in a water feature. A unit without armor cannot drown while trying to cross a water feature, so the Wood Elves will never have to fear this (and have a better chance of moving their full distance through the water, instead of treating it like difficult terrain). |
Formations and Tactics: Line of Battle
 |
| Your infantry work well if they are in a line, with the Elven blades in front (10 Elves) and the Wood Elf spears in back. Your bladesmen will be able to throw their throwing daggers when they charge, while your spears can either move into base contact with the enemies on the flanks, doubling up with their Elven blade companions or supporting if this first option isn't possible. The thrown weapons could kill some of the enemies before the charging is done, opening up vulnerable spear units or allowing you to double up on other units in the front ranks. The charges can be deadly, improving the kill count before you add archery or melee combat. Keep in mind, however, that the objective of having thrown weapons is largely to skirmish the enemy (harassing them) until their lines are broken enough that your Elves will have an advantage wherever they charge. If the enemy doesn't reach you with his charge, focus on charging only half of the battle line so that you don't need to face the whole army at once OR continue retreating with your throwing weapons picking units off the front lines. |
Formations and Tactics: Archers
 |
| This team can function as a volley team during the beginning of the game, but should move to a vantage point where they can shoot at their enemies while keeping their safety. It will not be surprising that I recommend woods for this job. You'll need to maneuver your battle line of infantry to expose enemy archers or spearmen to your own archers, since units who are engaged in combat are (with limited exceptions) not legitimate targets by archers. Should you have 2 woods in your set-up, I'd recommend splitting your archers (again, if you don't want to have a volley team) so that they can fire from both woods, keeping a fresh set of targets at all times. This will probably also require you to manipulate your forward line to keep the targets open. |
Formations and Tactics: Legolas
 |
| Legolas is the best archer in the game. Period. He has a Fight value of 6 and a Courage of 6, which means he's a dependable fighter in close combat and should keep your army together should the tide run ill for your force. He is also easily the best archer in the game with his "Deadly Shot" special ability. This allows him to do one of two things in the Shoot phase: shoot 3 times with his 3+ shoot value OR shoot once and automatically hit his intended target (roll to wound as normal). This gives him flexibility between shooting several opponents or taking down one critical opponent - like a Nazgul or a banner-bearer that is obstructed by another unit. |
Formations and Tactics: Galadriel
 |
| Galadriel is, for 130 points, arguably the best spellcaster available to the forces of Good. With 6 Will points and a free Will point that cannot be taken away, she will be able to cast plenty of spells and counter enemy spellcasters (unless something goes terribly wrong). Galadriel's aid to the Elves comes not only in her profile (Fight 6 though unarmed, Courage 7, causes terror), but also in the spells she can use to aid those around her. We'll highlight two of those spells here: Cast Blinding Light and Command. |
 |
| Cast Blinding Light is the signature use of Galadriel in this army: all ranged attacks against Galadriel, any units within 6", and any units obscured by Galadriel are only hit on the roll of a 6. This spell is a static effect spell and lasts as long as Galadriel has at least 1 Will point left, so cast it on the first turn (roll a 2+ on your free Will point) and use it to protect your forces quickly. Since your units are vulnerable to missile fire (especially from Dwarf bows and crossbows), Galadriel can take away the effectiveness of an archery force fairly well by reducing their shoot values to 6. |
A word to the wise though: units who are using "volley fire" will not be affected by this spell, since they already hit on a 6 only, so get out of volley range quickly (usually this means within 24" of the enemy) so they need to target specific units! As crossbows and throwing weapons are unable to volley, you need not worry about this rule against armies that rely on these weapons.
 |
| Command is a bit harder to cast and I usually use 2 Will points (1 from my store) to cast this one if it's essential to cast. Command requires that you roll a 4+ and the targeted unit has its Fight value reduced to 1, its Attacks reduced to 1, and the unit cannot move, cast spell, shoot, or wound for the rest of the phase. This is an excellent way to stop a combat hero from doing anything or stopping a Troll from doing anything. If you want these units to stay where they are, cast Immobilize instead, since it is cast on a 3+. |
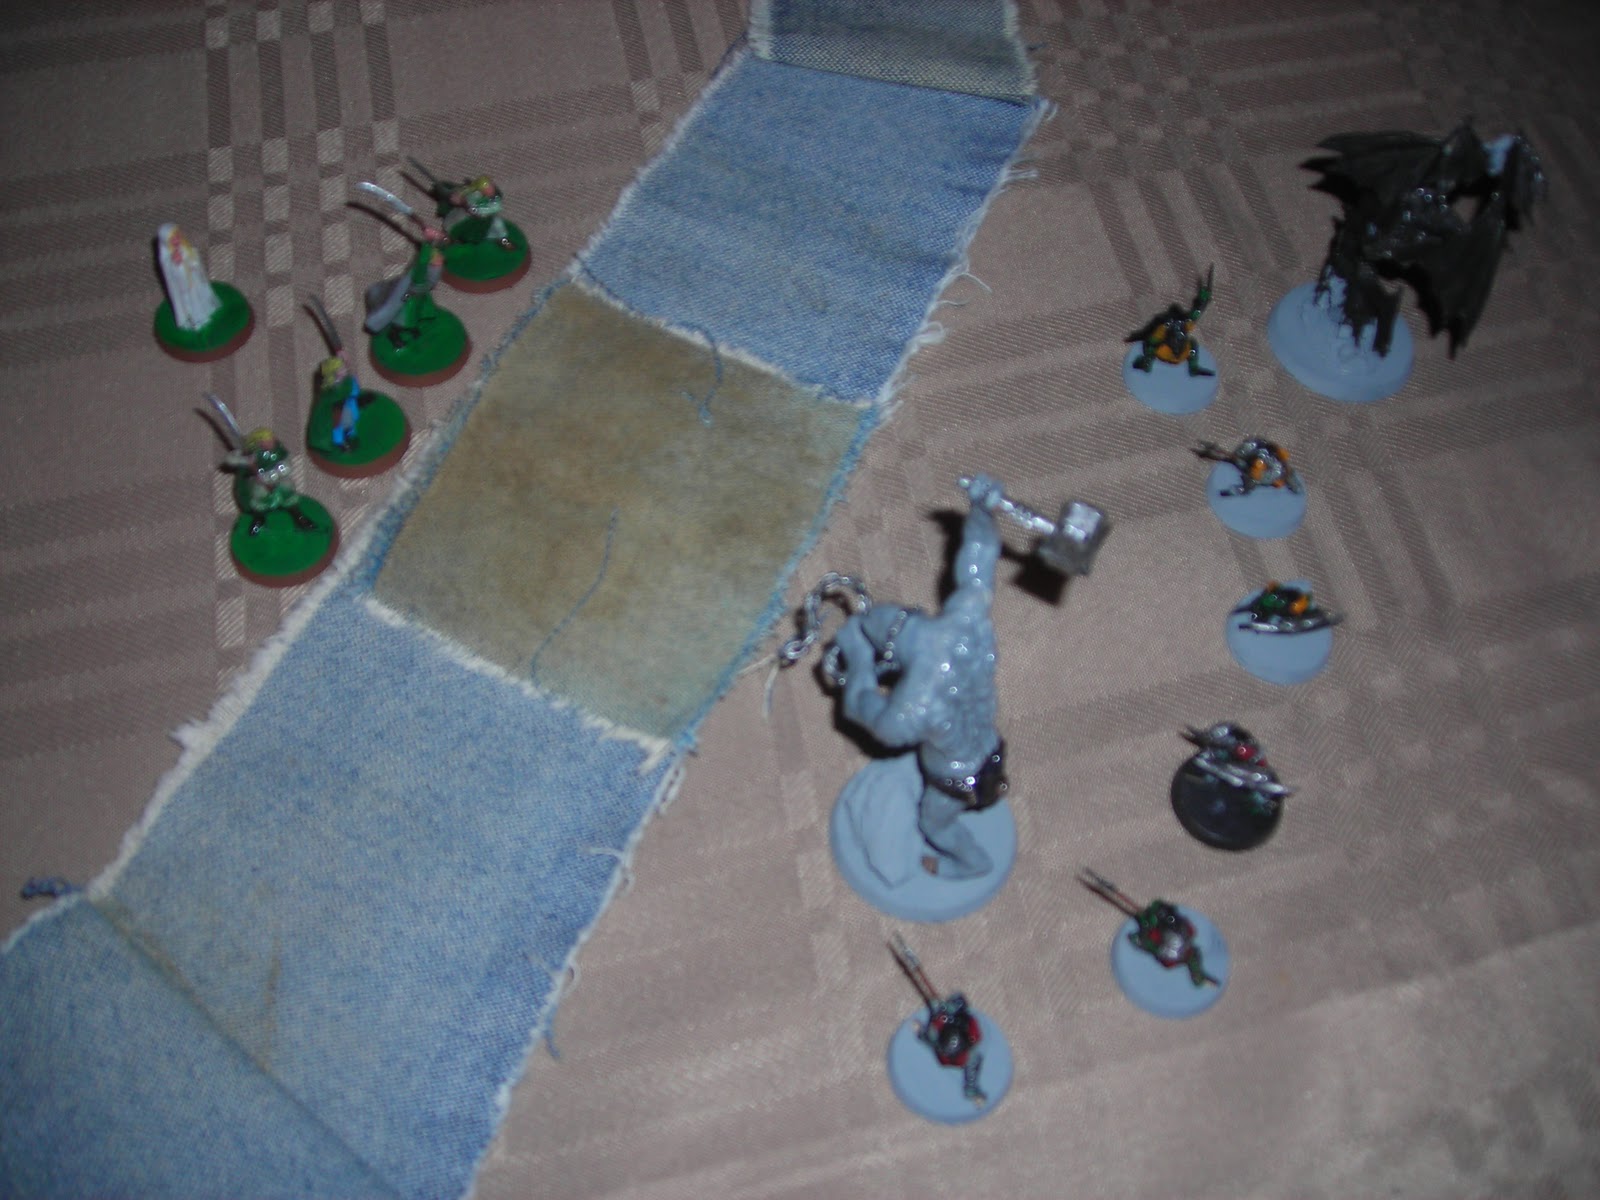 |
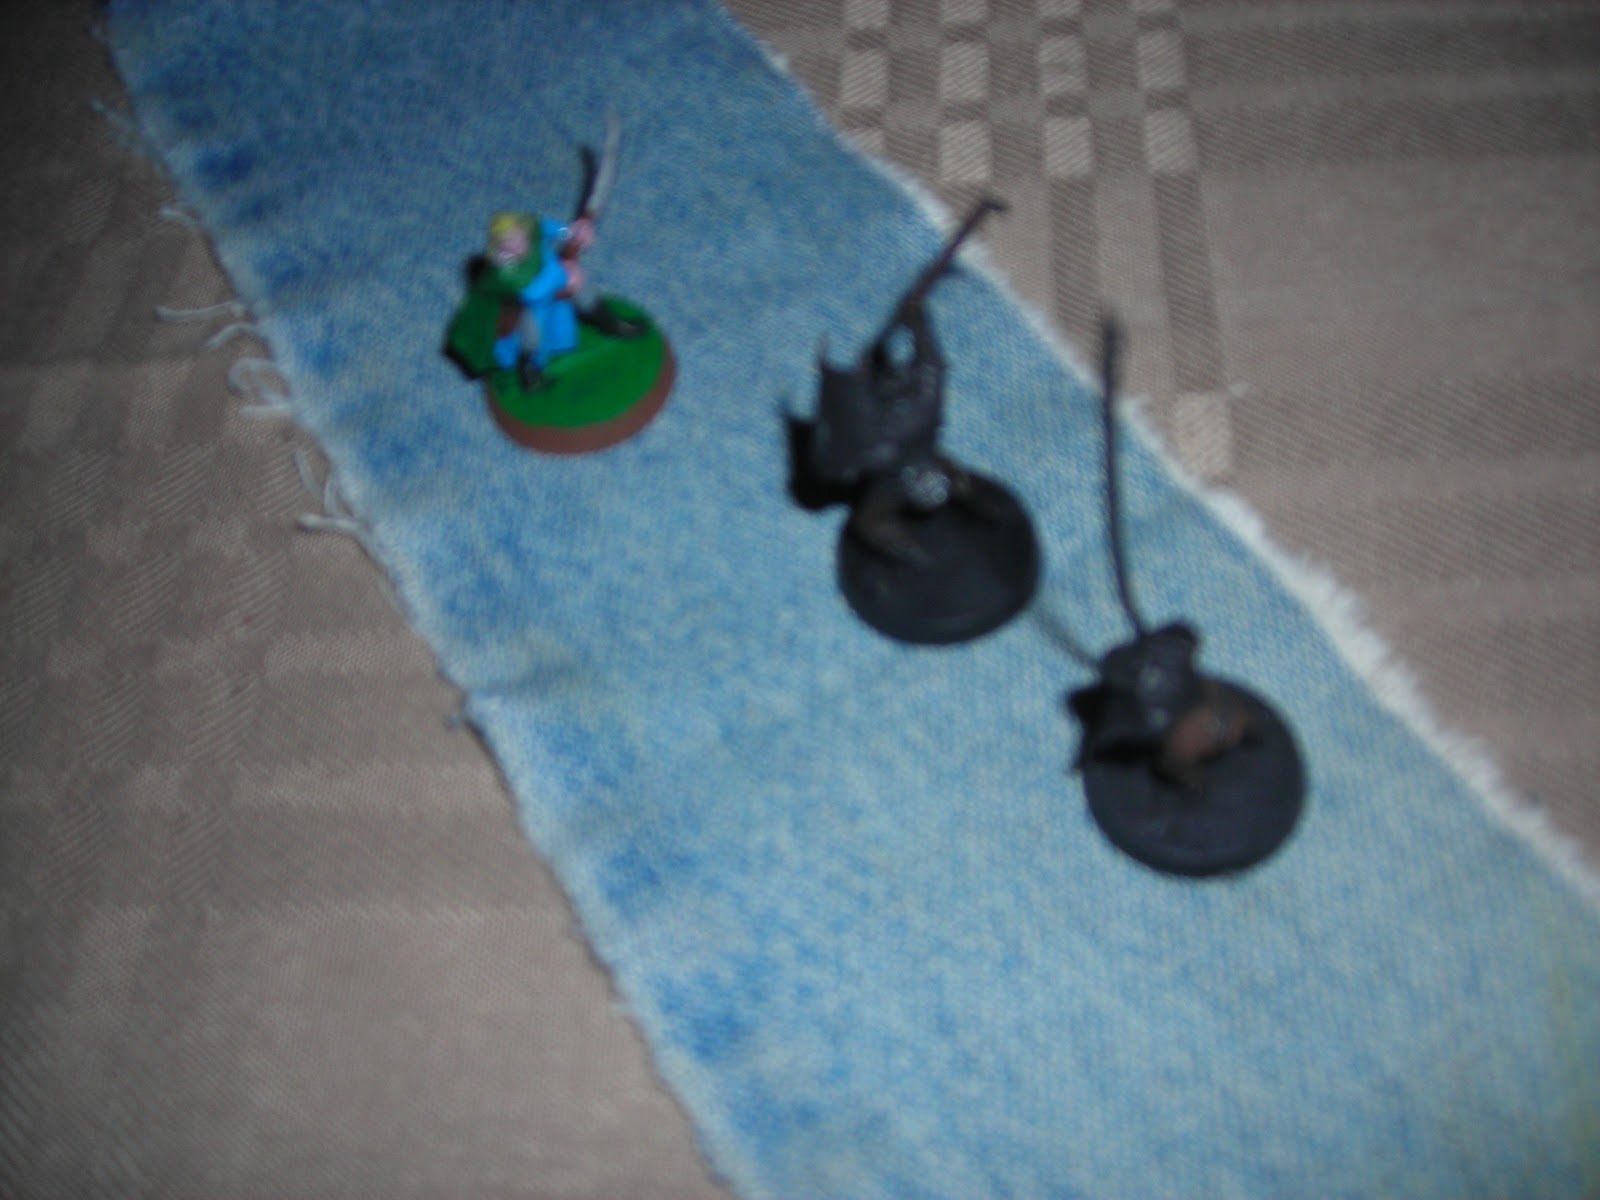
| Command also allows you to move the unit half of its movement (even if it's moved already this turn). If the enemy is close and you'd like to bring them closer to your battle line, use Command to lure a unit out and throw your daggers at it - one dead unit that you don't need to shoot the following round. You can also use this to move a banner bearer out of impact range (or keep a low-Will hero out of the fight for a while). In the picture above, Galadriel could choose to move the Cave Troll away from her bodyguards or bring the Bat Swarm into range of her guards' throwing daggers. |
Formations and Tactics: What's Next?
I have the Fellowship of the Ring, who can ally with this army, based on what I need. If I know the enemy will be anti-archer (Shadow Lord), I can change Legolas out for Gimli as a powerful melee hero OR bring Frodo as a spell-caster hunter. Frodo costs 100 points with his Mithril mail and Sting, allowing him to be a Strength 3, Defense 6 spell-caster hunting machine. Putting on the Ring will mean that only Nazgul can target him or charge him and if your enemy is not a Nazgul, you can run with impunity towards the enemy ranks, pass through his units, and take off the Ring just in time to charge the caster. This can also be used to target aura heroes or tactical heroes who rely on having screens of men keep them alive through the early stages of the game (Durburz, the Golden King of Abhrakan, etc.). It's risky, but I can always leave Sting behind and instead take an 85 point Frodo with Defense 6 and 3 Fate points to keep any hero tied up for a while.
I've thought about Galadhrim cavalry, Wood Elf Sentinels, and a full box of Galadhrim Warriors, but right now, these are all pipedreams, so we'll see what happens. Only an overwhelming need to make the army reach 1000 points would justify purchasing any of these boxes.
No comments:
Post a Comment